A zip! I think the last time I installed a zip in a garment or item was probably my A-level Textiles final project; I think there's enough distance between then and now to admit that I had a fair amount of help from my dressmaking mother on that one. Because of everyone's anxiety surrounding the humble zip, I got it into my head that putting one in is SUPER hard. So I was a little reluctant to do this, but I was so surprised at how simple it was!


I've made yet another doorstop, this time as a gift for my boyfriend's family. They have a huge, beautiful German Shepherd and are very much a dog family. So when I saw this fabric I had to get some. But with the dog running around, occasionally vomiting, I could see this doorstop getting hideously grubby in a matter of days, so it needed to be washable. I absolutely exhausted all avenues, until I came full circle back to the zip - it is literally the only way! So the stuffing can be taken out and the cover washed. Instead of just throwing the stuffing in, I made two cubes from a very lightweight cotton and filled one with the toy stuffing and the other with LOTS of rice. The extra work was really worth it; the doorstop has a better structure than the previous attempts, due to the stuffing not stretching and distorting the casing, but rather the lining.
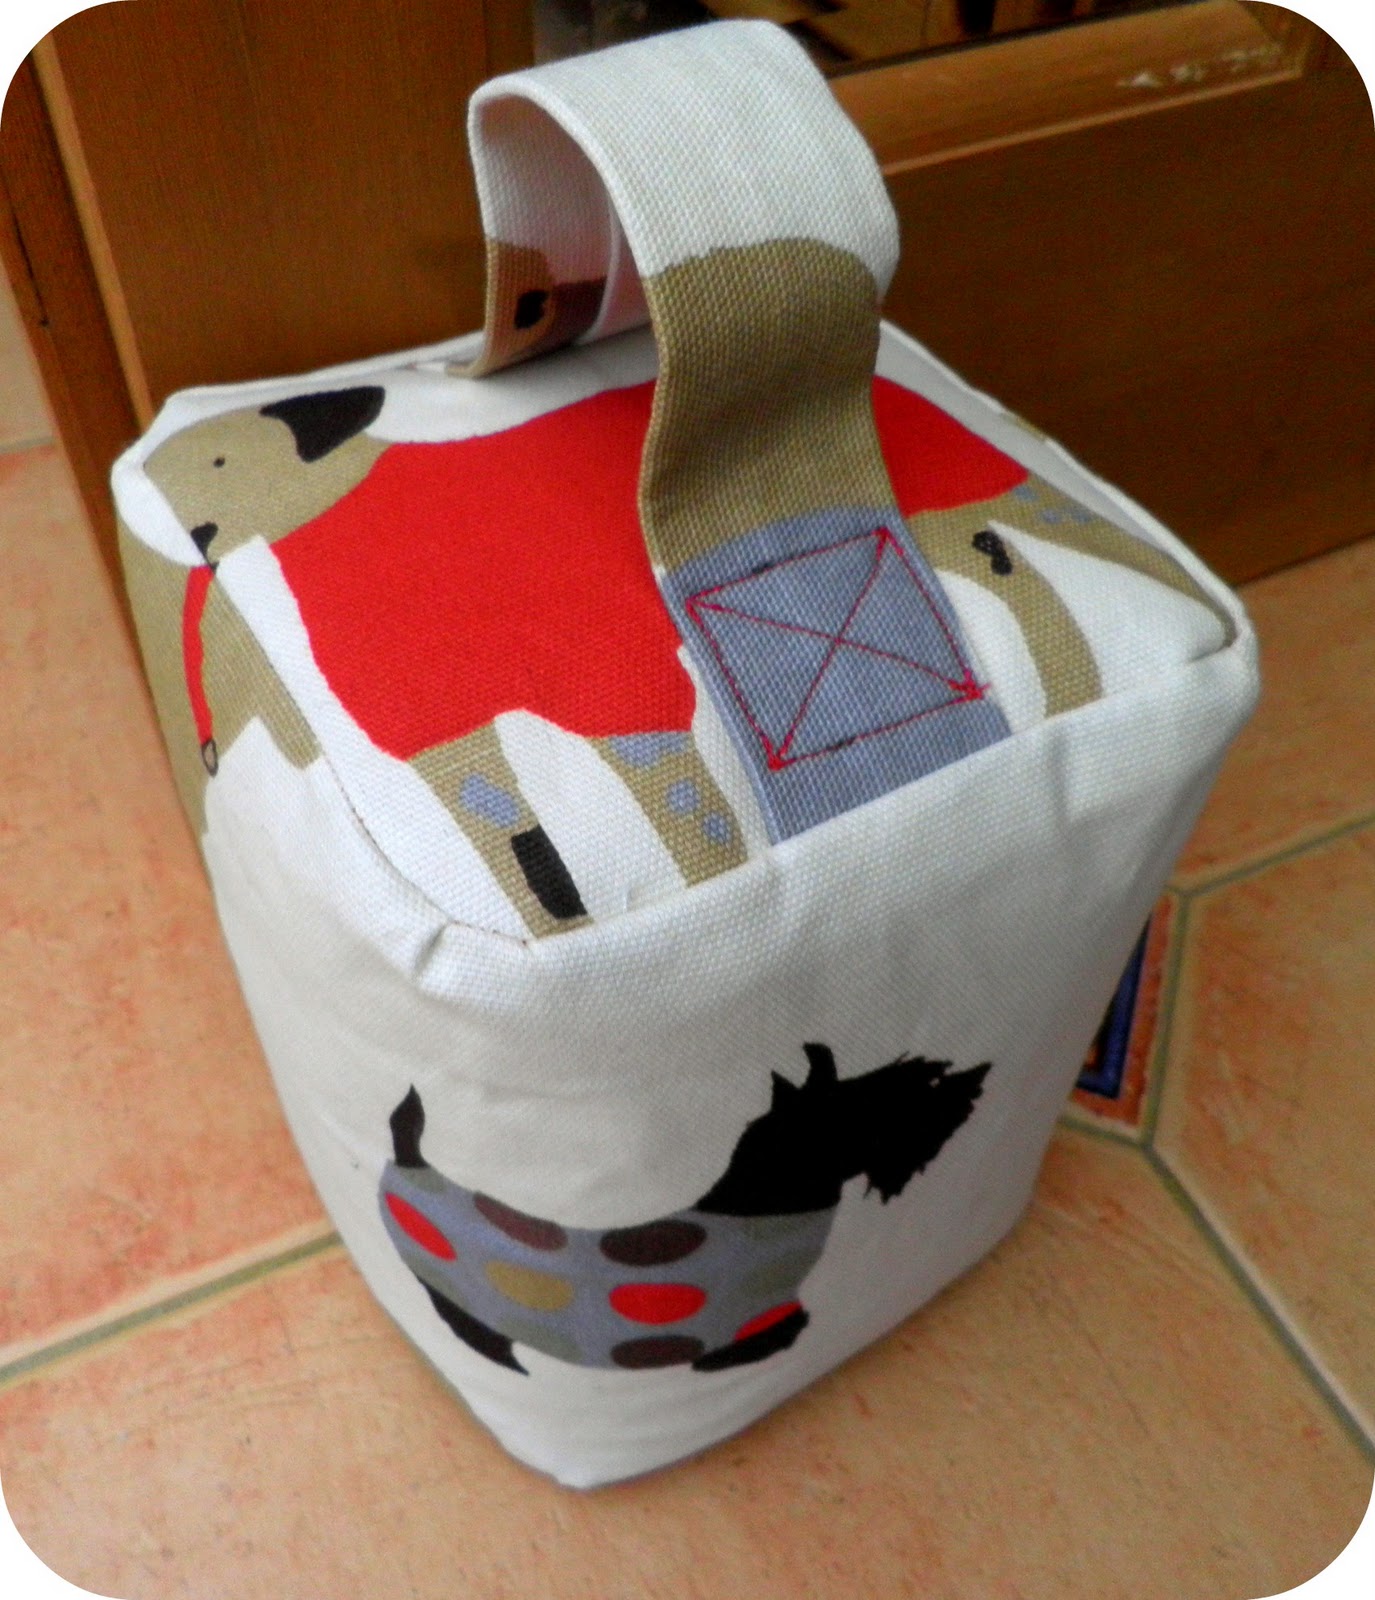
And here is the zip..


I think the zip makes it look ten times better and it's also now ten times more practical! If you can't tell from the pictures, it's on the bottom. It was so easy to alter the pattern - all you need to do is cut the bottom panel in half, put in the zip, and then trim it down so that each edge still measures 6". Simple! Removing the 1/2" seam allowances, the panel is a 5" square, so a 5" zip is made for this.
I think next, I'm going to try a zip down the front because it will be far easier to remove the stuffing that way.
Until next time! xx